maxwei
-
Gesamte Inhalte
2488 -
Benutzer seit
-
Letzter Besuch
Alle erstellten Inhalte von maxwei
-

Problem mit Texturen in den Ecken des Nahverkehrszuges.
maxwei antwortete auf David Teides Thema in [International] Problems and solutions
Hallo David, zeige mal ein näheres Detail im MBS und dasselbe Detail in Blender zum Vergleich, so kann man sich nichts darunter vorstellen. lg max -
Hallo zusammen Als nächstes Projekt hätte ich die "TAURUS" als Neubau geplant. Ich weiß dass diese von FRANZ (welcher nicht mehr aktiv ist, aber damals sehr viel für das MBS geleistet hat) kommt, ich will das Ganze selbstverständlich in Ehren halten, bin aber trotzdem der Meinung dass ein Neubau Sinn ergibt da ja die verbesserten Möglichkeiten des MBS auch genutzt werden sollten. Neues Cockpit, Scheinwerferkegel weg, _Custom-Texturen (bei dieser Lok gibt es sehr viele verschiedene Texturen), Beleuchtung... Was haltet ihr davon? Spricht was gegen eine Neuauflage? (Ich bin mir auch nicht sicher ob ich versuchen sollte mit Franz Kontakt aufzunehmen)🤷♂️. lg max
-
Ok, dann hat er das vielleicht abgeschaltet
-
Eine PN wird normalerweise auch als EMail weitergeleitet, zumindest ist das bei mir so. lg max
-
Hallo Das macht für mich nicht wirklich Sinn, da ich mit Hubert wunderbar an der UP4000 zusammenarbeitete, ich ihm aber auch im November eine PN geschickt habe was mit ihm denn los sei und auch diese PN von ihm leider nicht beantwortet wurde, von daher wirft er NEO etwas vor das auch er genauso handhabt, leider. lg max
-
Hallo @Jim Knopf Grundsätzlich ist die Ausrichtung ausgehend von Blender (ich nehme mal an dass das in Sketchup auch so ist) immer die X-Richtung welche nach vorne zeigt, wenn du ein unsichtbares Drehgestell dazu baust zwingst du das Modell auf die Schienen, einfacher wäre aber, wie gesagt, die Ausrichtung im Konstruktionsprogramm zu ändern. lg max
-
Hallo Heinrich, Willkommen im Club lg max
-
Hallo David Ich bin mir jetzt zwar nicht sicher woraus "Bildbankmodell" übersetzt wurde, ich gehe aber davon aus dass du sowas wie externe Textur ausgehend von einem Photo meinst. Von daher würde ich jedoch die Textur selbst erstellen mit einem Grafikprogramm, nur so als sehr vereinfachtes Beispiel: ----------------------------- No estoy seguro de la traducción de "modelo de banco de imágenes", pero supongo que se refiere a algo como una textura externa basada en una foto. Sin embargo, a partir de ahí, yo mismo crearía la textura con un programa gráfico, sólo como un ejemplo muy simplificado: lg max

-
Hallo Elluminstus Ich habe auch diese jetzt vorgemerkt, wird aber noch lange dauern. lg max
-
Vielen Dank für die Kommentare und Tests. Wie ich weiter oben schrieb ist das ein Problem der virtuellen Spiegelungs-Textur welche ins MBS integriert bin und ich eben auch nicht damit wirklich einverstanden bin, dahingehend hat mir NEO auch gesagt, er wird versuchen diese Problematik, welche sich auch veranschaulichen lässt als großer Unterschied zwischen Blender und MBS, einer besseren Lösung zuzuführen. Bis dahin werde ich die Spiegelung bei bestimmten Farben (leider alles was eher hell ist) zurücknehmen. Das werde ich dann eben auch bei der V200 machen wenngleich es eigentlich schade ist, dass wir jetzt diese tolle Möglichkeiten des PBR haben, es aber nicht zu 100% ausnützen können. ---------------------------------------------- Vielen Dank für die Info, wird ausgebessert. lg max
-
Hallo zusammen, Vielen Dank für die Likes alle 4 sind jetzt komplett hochgeladen nochmal zum Testen unter: D3C77436-0552-4B40-875D-E4D679C0B9D8 bevor sie finalisiert hochgeladen werden. lg max
-
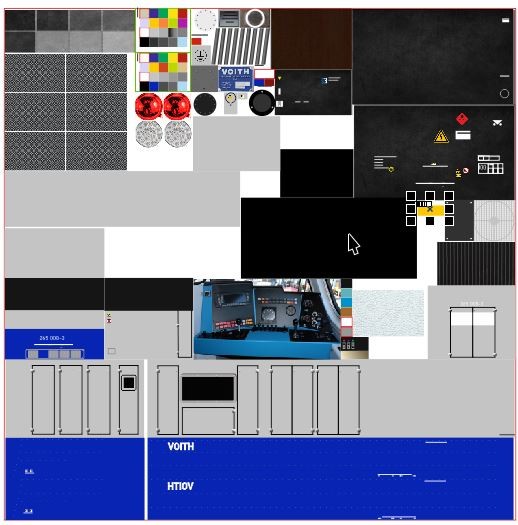
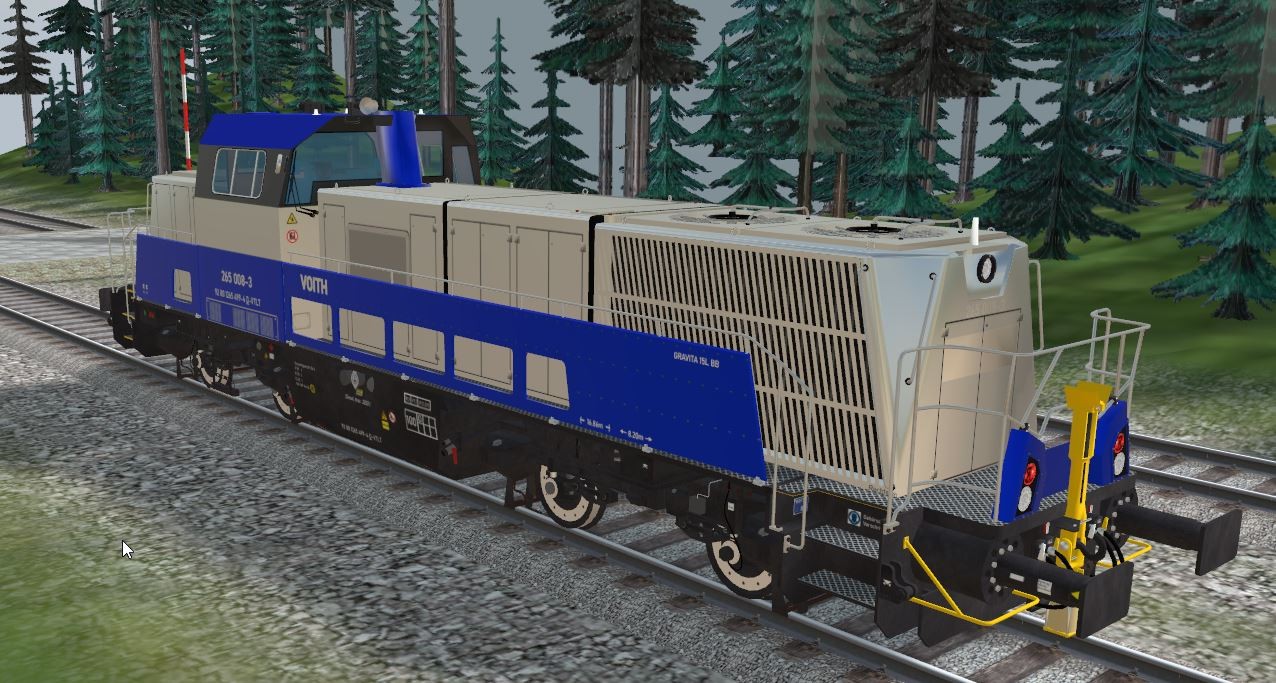
Hallo Michael, Natürlich bleibt jedem selbst überlassen mit welchem Programm solche Multitexturen erstellt werden. Ich kann dir aber den Rat geben ein Programm auf Vektorbasis-Darstellung zu verwenden und dann ins *.png zu exportieren, ich spreche natürlich nur für mich aber es ist mMn. einfacher, als Beispiel habe ich zu Beginn mit Inkscape (free) gearbeitet weil ich mit Gimp überhaupt nicht zurechtkam, später dann habe ich mir eine günstige Corel Draw Version gekauft mit der ich mittlerweile alles mache und auch sehr zufrieden bin. Vorgangsweise einer Multitextur: Erstelle ein leeres Blatt mit der für dich bereits relevanten Auflösung (du weißt: Grösse muß eine 2er potenz sein). Danach fülle ich nach und nach das Blatt aus, so wie ich es gerade brauche beim Bauen, switche dazwischen immer hin und her. Erstelle ich z.B. eine Seitenwand einer Lok, baue ich das Rechteck mit richtiger Skalierung ins Grafikprogramm und bemale mit irgendeiner Farbe als Platzhalter, passt es wird richtig texturiert, usw., als Beispiel die Textur der Voith (verkleinert): lg max
-
Hallo zusammen, hab' da noch einen, die schwarze MRCE: lg max
-
Hallo VKFV Ich hab's erst jetzt gesehen und ist hiermit vermerkt. lg max
-
Hallo Michael, Guter Anfang, das als Basis um weiter zu bauen, Türen, Fenster(1 zusätzliches transparentes Material), Schornstein 3D-Dach, Dachrinne etc...(alles mit einer eigenen Textur, aber in Summe nur 1 Material (exkl. transparent). In weiterer Folge Animationen Scheunentor auf/zu, Wetterhahn, Fenster Beleuchtung.... lg max
-
Hallo Michael Wieso ist das deiner Meinung nach kompliziert? Ich weiß jetzt nicht worauf du dich beziehst, aber es gibt klare Regularien was den Import ins MBS betrifft. Der Grund dahinter ist ganz einfach das Ressourcenmanagement, welches sich aber in JEDEM Spiel ergibt, ausgehend von den LOD's, wird dir vielleicht schon mal aufgefallen sein dass, wie gesagt, in jedem Spiel das sogenannte Popup vorhanden ist, aus einem einzigen Grund um die Framerate in vernünftigen Bahnen zu halten, genauso wie eben auch das Polygon/Textur-Limit. Diese Daten sind es nun mal welche die Grafikkarte/Prozessor belasten und je mehr gleichzeitig dargestellt werden muss umso mehr muss gleichzeitig berechnet werden. Damit es eben nicht zu großen Einbußen bei der Darstellungsgeschwindigkeit kommt sind eben gewisse Regeln einzuhalten. Was würdest du denn sagen wenn du plötzlich eine Framerate von <10 hättest und damit nur Ruckeln und Unspielbarkeit? Das wäre doch kontraproduktiv und du mit Sicherheit unzufrieden. Das heißt aber auch dass du bauen kannst wie du willst, aber nur für dich, willst du jedoch veröffentlichen, dann, wie gesagt.... lg max
-
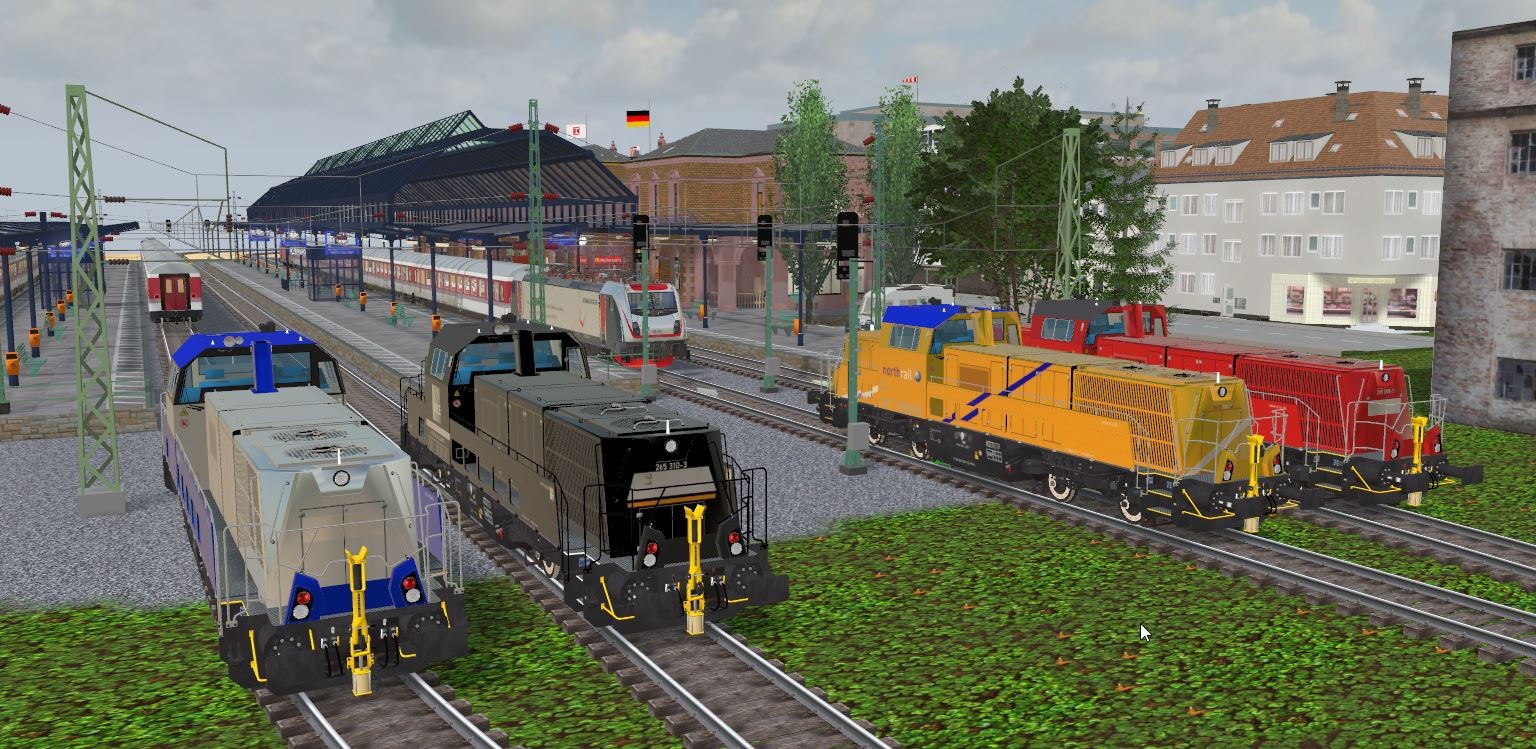
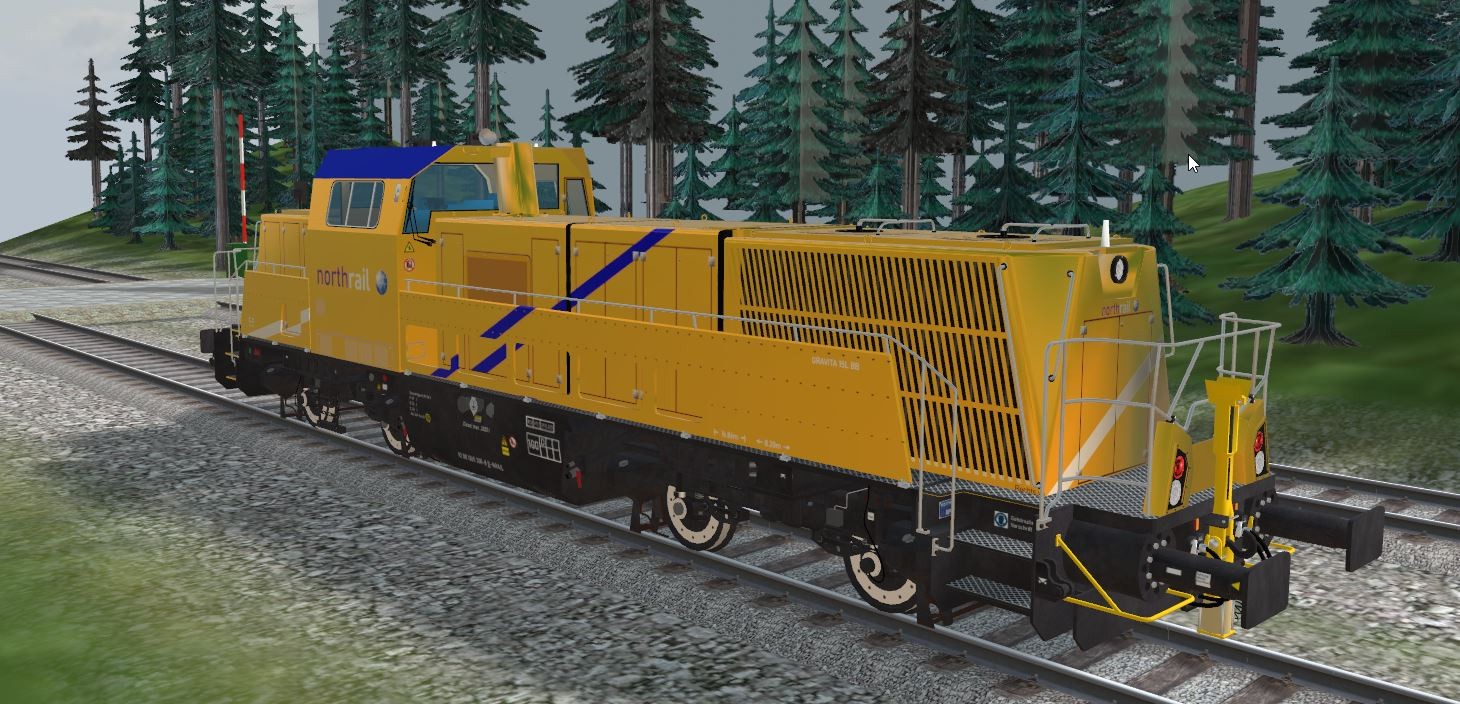
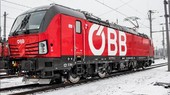
Hallo zusammen, nächste Variation: North Rail Das ergibt sich durch die virtuelle Spiegelung eines vorgegebenen Bildes welches im MBS implementiert ist (zugegeben bin ich auch nicht 100% damit einverstanden), @Neoist auch dran das zu verbessern, Diskussionen gab es da schon intern,... Möglichkeiten dahingehend gäbe es derzeit nur bei Vernachlässigung des PBR in Richtung "Matt", das will ich aber nicht weil ansonsten die Möglichkeiten ab V6 ebendieses PBR als obsolet angesehen werden könnten. lg max
-
Hallo zusammen Vielleicht könnte @Neo mal was dazu sagen ob sich dahingehend in nächster Zukunft was ändern wird dann könnte man sich so manche "wissenschaftliche Expertise" ersparen. lg max
-
Funktioniert, habe beim Kopieren den 1er am Anfang unterschlagen lg max
-
Hallo Opax Ich kann unter der ID leider nichts finden. lg max
-
Einige Fragen zum Modellbau
maxwei antwortete auf Klartexters Thema in Modellbau mit externen Programmen
Hallo zusammen Bitte unterlasst solche Übertreibungen wenngleich sie auch runter gehen wie Öl. Es gibt hier mehrere sehr gute Modellbauer, ob in Blender oder Sketchup oder sonst was, die ebenso tolle Modelle bauen und auch gut erklären können. Ich will hier auch keine Namen explizit nennen sonst vergesse ich noch jemanden und dann wäre jemand beleidigt, aber jeder weiß wer hier sonst noch genannt werden kann. Zurück zum Thema: Das hört sich komplizierter an als es wirklich ist: Blender hat eben, im Gegensatz zu Sketchup, den Vorteil dass die Animationen direkt im Programm gemacht werden und dementsprechend gleich gut als *glb exportiert werden. In Sketchup muss man eben die Animationen selbst ins *.X File übertragen, so wie @BahnLand das macht und auch schon an mehrere Stellen sehr gut erklärt hat. Der einfachere Weg jedoch bleibt bei Blender. Wenn man, zugegeben am Anfang etwas frustrierend, einmal das System begriffen hat, vor allem die Funktionsweise der Bones, ist es eher ein Leichtes Animationen jeder Art zu erstellen. Diese Bones braucht man allerdings nur für komplexere Animationen wie zB. das Gestänge einer Dampflok. Normale lineare oder rotierende Animationen sind dagegen sehr einfach. lg max -
Hallo Michael, Den Flughafen nachzubauen ist ja grundsätzlich kein Problem, aber: wie Joachim schon andeutete.. Du musst deine Objekte in eigenständige Modelle aufteilen (mit einer max. Polygonanzahl von 128k) und in LOD0 5 Materialien pro Modell, d.h. du solltest unbedingt mit einer Multitextur arbeiten. Die genaueren Details dazu kannst du ja aus der WIKI entnehmen bzw. siehst du auch genau in der o.g. Fehlermeldung. lg max
-
Hallo arnyto, vielen Dank für die Blumen. BB 75000 ist vorgemerkt... lg max
-
Hallo zusammen, Vielen Dank für die Likes habe ich etwas reduziert erledigt. 1. Variation: lg max
-
Hallo zusammen, sorry dass ich mich hier einmische, ich habe aber auch ein paar Versuche angestellt mit folgendem Ergebnis: Wenn man die vordere Achse mit nur einem Rad der Mitte als WheelSet definiert, im umgekehrten Falle die hintere Achse mit dem anderen mittleren Rad hat man, denke ich auch keine so schlechten Ergebnisse, einziges Manko ist die etwas schiefe Mittelachse welche man aber nicht sieht von der Seite. Vielleicht unterliege ich auch irgendwo einem Fehler, probiert das mal aus bitte. lg max